Share me
Tweet
If you are reading this for a detailed explanation of how to use Adobe Lightroom or extensive tips on editing, then please wait for my next blog which will cover some aspects in more detail. This is more an explanation of why to even edit in the first place, while trying to show how simple and quick it can be to make huge improvements to your pictures.
Why Do People Still Not Edit???
While away photographing in Indonesia last year, I met many fellow photographers, from complete beginners who had never used a camera to professionals of many years. The pros would normally be using Lightroom, Photoshop, or a combination of both. One thing that is generally agreed upon is that Lightroom was a basic requirement, I don’t like to over edit so I can usually achieve what I want with fairly minimal editing. The beginners to intermediates were the ones who would be wary of editing for various reasons.
- Don’t know how (the most common and understandable)
- Don’t have the software
- Don’t have the time
- Prefer unedited photos (some people consider edited pictures unnatural or just like to have them perfect out of the camera)
- Don’t do anything with their photos
- Don’t shoot in raw
Don’t know how
Any basic editing software can be used to drastically improve an image (raw files are better for this). You don’t have to be an expert to make significant positive changes to your pictures. Once you have learned to import an image, tweaking the white balance and exposure can turn an unusable image into one you are happy to show your friends. That’s just 2 changes that can be done by sliding a bar, you will be amazed at the results. I have had photos in the past that were horribly overexposed due to a full flash at close range, what was a mostly white image was brought back to life and no longer destined for the trashcan.
Don’t have the software
One of the premium or paid for editors is not essential at all, there are many excellent free editors available. While free versions or software that your camera manufacturer may provide may not be as intuitive or have as many tools as a premium editor, it will perform the basics and these are essential.
Don’t have the time
On average, I can have a single photo imported, edited and exported in under 10 minutes. Of course some will take longer or shorter depending on how you want to present them, but basic but very noticeable alterations can be made in minutes. A good couple of hours can take a weeks worth of average shots to the next level, nothing in the grand scheme of things, it really is that simple.
Prefer unedited photos
Okay, this one is down to preference and that’s fine, that is how cameras once were I suppose. I just can’t help but think they are holding their pictures true potential back, now we have the option to improve on various aspects of a photo, why not take advantage of it? Of course the extreme is over editing where a photo can look very different from the original file but that the other end of the scale.
Don’t do anything with their photos
Similar to the above, if you don’t plan on doing anything at all then fine but even if they are for your eyes only, a physical memory, wouldn’t you make it the best it can be?
Don’t shoot raw
I still think many people believe that if you shoot in Jpeg, there is no point editing. Yes, it is more limited, shooting raw allows a lot more data to be manipulated in post processing but there’s still a lot you can do with Jpegs. At the same time, if your camera is able to shoot in raw, do! Even if you don’t plan on editing, having a raw copy of a image you really like would allow you to fine tune it even more.
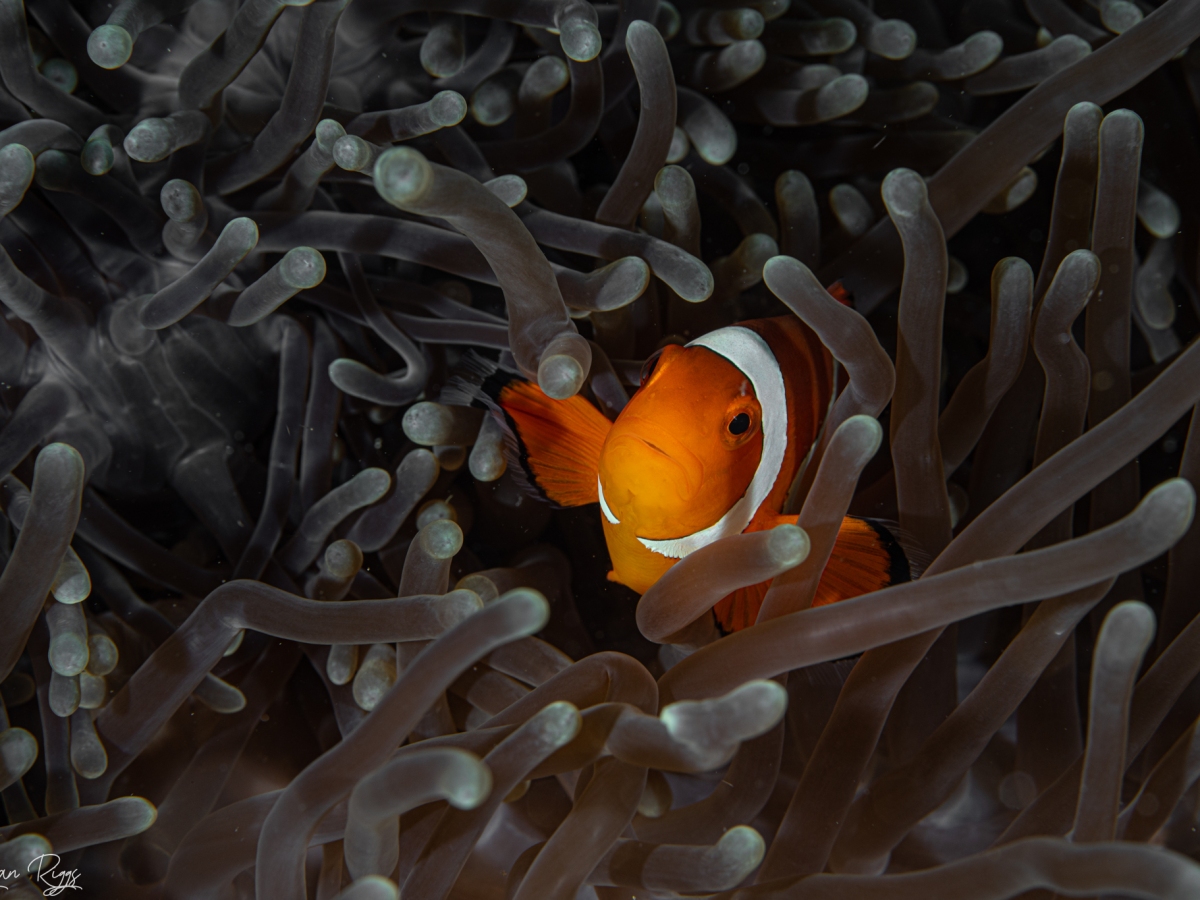
Before and after with less than a minute spent
Below is 3 examples of how 3 very simple adjustments can completely transform an image. For the following examples I have chosen to use 3 important tools in editing, white balance, exposure and crop.
White Balance


Exposure


Cropping


Give it a go
It pains me when I see pictures uploaded to any media platform where they have could have been so much better with a little time spent. Video too, it’s very easy to colour correct video yet I still see green dull videos that are crying out to be given a more natural look.
I hope some of this may have changed your mind if you do not edit, the best way to get this point across is a clear before and after shot, you might just be amazed. Find some software, import a few photos and see how you get on. It may be a bit daunting at first but after a few adjustments you will begin to see a pattern of what generally works. Happy shooting! (and editing)
share me
Tweet
Cocos Island, Scuba Diving In Jurassic Park – Pelagic Paradise
Remember the movie ‘Jurassic Park’? Well, Cocos Island was actually the inspiration behind the fictional Jurassic counterpart ‘Isla Nublar’ If you’ve seen the movie you’ll know that this means cloud forests, a spectacular green mountainous landscape, numerous waterfalls and wonderfully blue water. While it may not have real dinosaurs (sorry to disappoint), it does have…
One On One Encounter With A Giant — Morgan’s Ocean Images
One of the things I love most about scuba diving is the opportunity to interact with animals that show signs of intelligence and curiosity. Some special encounters leave me wondering what they are thinking, why are they reacting the way they are, what are they gaining from this social behaviour. In 2018 I had my […]…
One On One Encounter With A Giant
One of the things I love most about scuba diving is the opportunity to interact with animals that show signs of intelligence and curiosity. Some special encounters leave me wondering what they are thinking, why are they reacting the way they are, what are they gaining from this social behaviour. In 2018 I had my…